Download PDF
Instructions
The actions described in this Guide can only be performed if you have already created an Item and allocated it to a Facility.
STOCKHOLM allows you to update multiple Item quantities in bulk across your Facilities.
This function is available for Items already in your stock data. It does not allow to create new Items or to modify existing Item attributes; it is only to update quantities.
To bulk upload new Items, see the Adding Items in Bulk User Guide.
How to update item quantities in bulk
1 . Open the Manage Data section.
2. Select Facilities.

3. Click the Download stock report button.

4. An Excel file will save to your computer, usually to your Downloads folder. Open the file.
The downloaded spreadsheet contains a list of stock items in all your Facilities.
5. Under the heading Updated Quantity (column H), add the new quantities of items that need to be updated in STOCKHOLM.
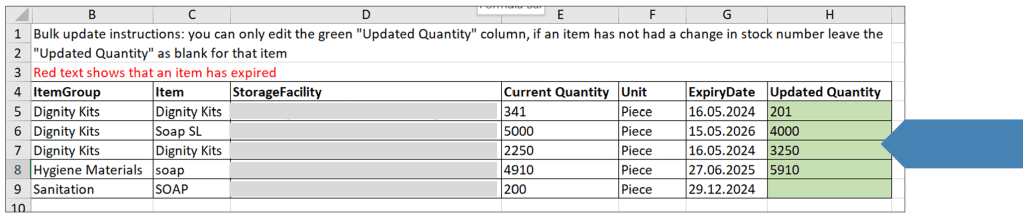
If the quantity of an Item does not need an update, you can leave the corresponding cell in the green column blank.
6. Once the new quantities have been added, save changes to the Excel spreadsheet and close the file.
7. Go back to Facilities in STOCKHOLM and click Upload updated stock quantities.

You will be asked to choose the file with the stock data.

8. Select Choose File.
9. Find the Excel file on your computer and press Open.
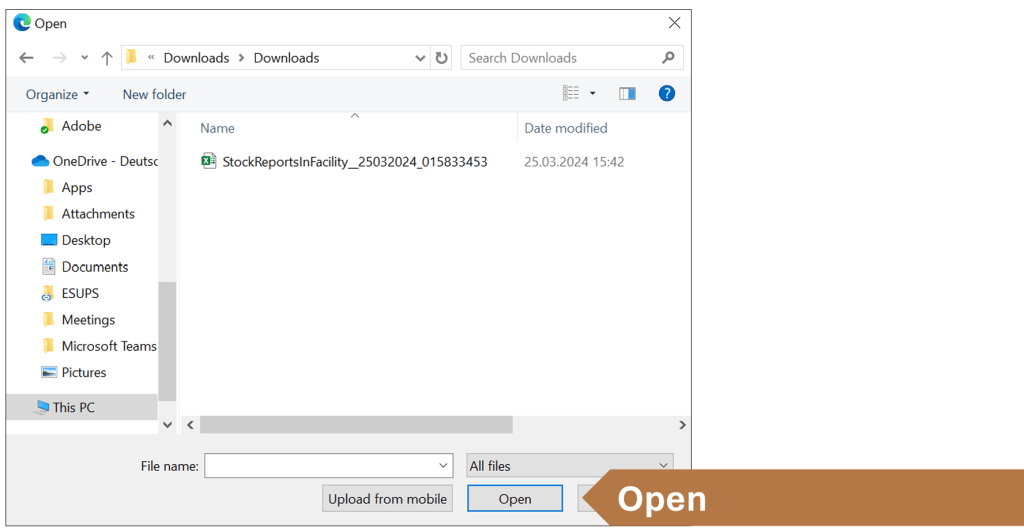
10. Click Upload.

Once loaded, your Item quantities will be updated and reflected on STOCKHOLM. If you don’t see any changes, try to refresh the page.
If you wish to update other Item attributes (other than quantities), see the Updating Item Quantities User Guide.